Chatting with Your AI Agents
Chat with your AI agents, attach files, view tool calls in real time, confirm write operations, and manage conversations.
Chatting with Your AI Agents
Two modes: interactive chat vs autonomous
Autonomous Mode vs Interactive Chat — What's the Difference?
Every agent on Macha can run in two ways:
- Interactive chat (this page) — you're in the loop the entire time. The agent reads your message, decides what to do, and pauses before any write action to ask for confirmation. You review what it wants to do and approve it, then it executes. This is the safest mode and the right place to test a new agent before automating it.
- Autonomous mode — kicks in once you attach a trigger to the agent. As soon as the trigger fires, the agent reads the event, decides on the next steps, and executes write actions immediately. There's no human in the loop and no confirmation step. See Triggers for setup.
The recommended flow is: configure your agent's instructions, tools, and data sources → test it in chat to see how it behaves → only then attach a trigger to make it autonomous. Testing in chat first is the easiest way to catch a wrong response, an incorrect public reply, or a bad ticket-field update before it goes live.
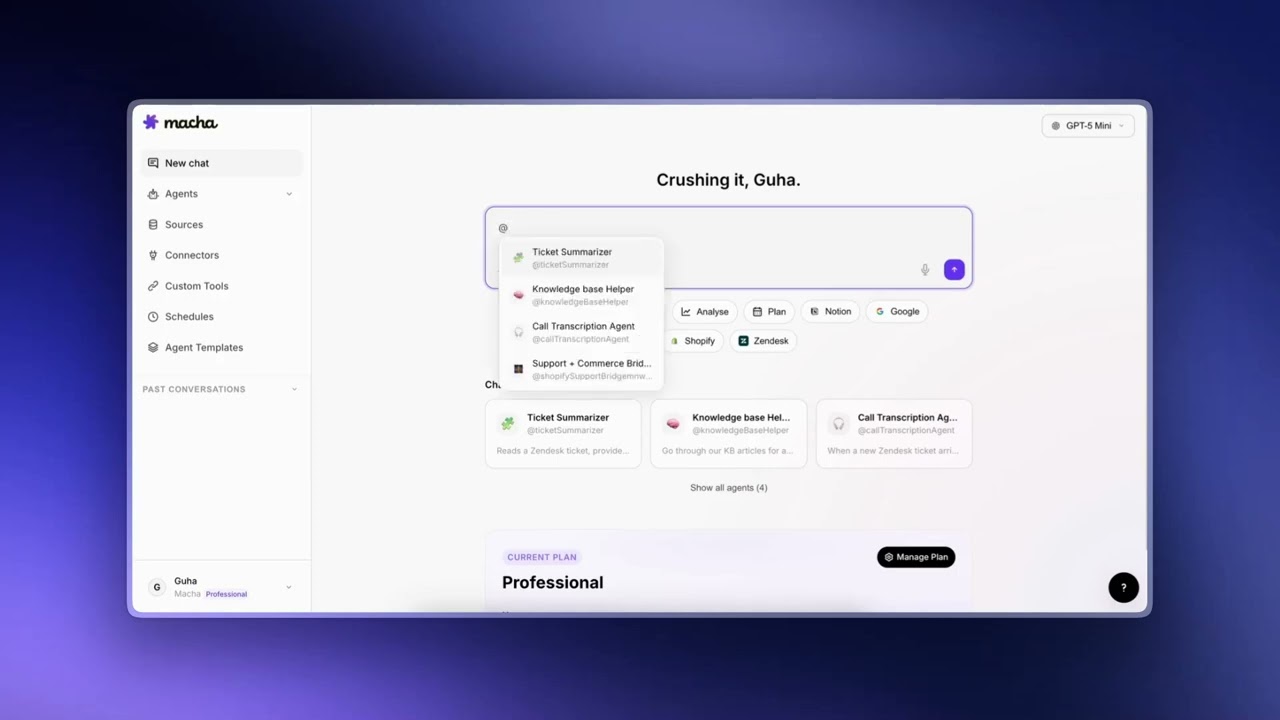
Starting a conversation
To chat with an agent, click on the agent from your dashboard or select it from the sidebar. You'll see a welcome screen with the agent's name, description, and suggested prompts to get you started. Type your message in the input field and press Enter or click the send button.
If you already have an active conversation and want to start fresh, click the New chat button that appears next to the tabs. This clears the current conversation and returns you to the welcome screen.
Sending messages
Type your message in the input field at the bottom of the chat. Press Enter to send, or click the send button. The agent will process your message, potentially use its connected tools to gather information, and respond.
Responses stream in as the agent generates them, so you can start reading before the full response is complete.
Attachments
You can attach files to your messages for the agent to analyze. Click the paperclip icon in the message input to open the file picker, or simply drag and drop files onto the input area. A dashed border will appear when you're dragging files over the input to confirm the drop zone.
Supported file types and limits
- Images (PNG, JPG, etc.) — up to 5 MB. Sent as visual content, so the agent can see and describe what's in the image.
- Documents (PDF, DOCX, CSV, XLSX, TXT) — up to 10 MB. Text is extracted from the file and included in your message, so the agent can read and analyze the contents.
- Audio — up to 25 MB. The file is stored and available for processing.
You can attach up to 3 files per message.
Tip
For spreadsheets, the agent gets the full text content, so it can answer questions about specific rows, columns, or calculations. Try asking it to summarize, filter, or compare data from your uploaded files.
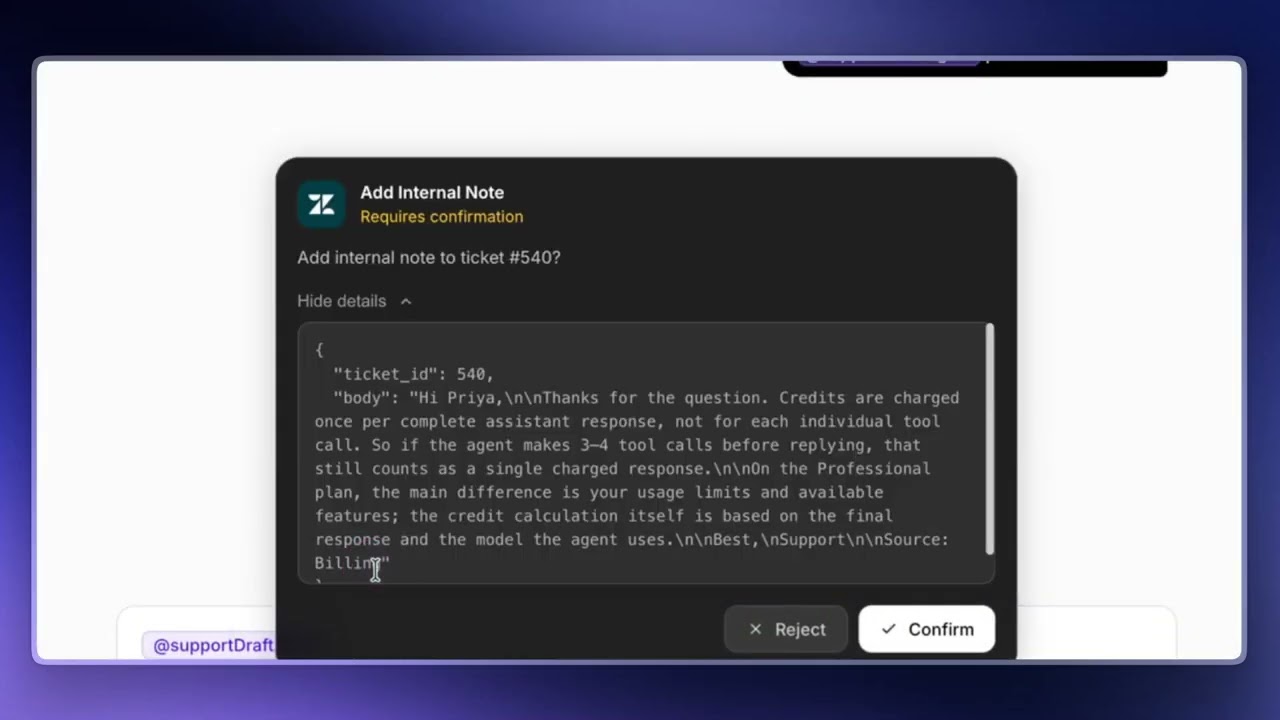
Tool confirmations
When an agent needs to perform a write operation — like updating a ticket, creating a record, or sending a message — it will ask for your confirmation before proceeding. You'll see a confirmation card showing what the agent wants to do and with what parameters.
Click Confirm to let the agent proceed, or Cancel to stop the action. This safety mechanism ensures the agent never makes changes without your explicit approval.
Read-only operations (fetching data, searching, looking things up) run automatically without confirmation.
Markdown in responses
Agent responses support rich formatting including:
- Bold and italic text
- Bullet and numbered lists
- Code blocks with syntax highlighting
- Links
- Tables — wide tables scroll horizontally within the chat, so the page layout stays intact
File generation
Agents with the File Tools connector can generate files on your behalf and return download links directly in the chat. Supported formats include:
- Spreadsheets (.xlsx) — structured data with multiple sheets, formatting, and formulas
- CSV files — simple comma-separated data
- PDF documents — formatted reports and documents
- Word documents (.docx) — rich text documents
Just ask your agent to create a file. For example: "Create a spreadsheet with this month's sales data" or "Generate a PDF report of the open tickets."
Tip
File Tools are always available — they're a built-in connector that requires no setup. Any agent can generate files as long as File Tools is assigned to it.
Conversation management
Your past conversations are accessible from the sidebar. Click on any previous conversation to continue where you left off. Each conversation maintains its full history, so the agent remembers the context from earlier messages.
To start a new conversation with the same agent, click the New chat button that appears next to the Chat tab when you have an active conversation.
© 2026 AGZ Technologies Private Limited